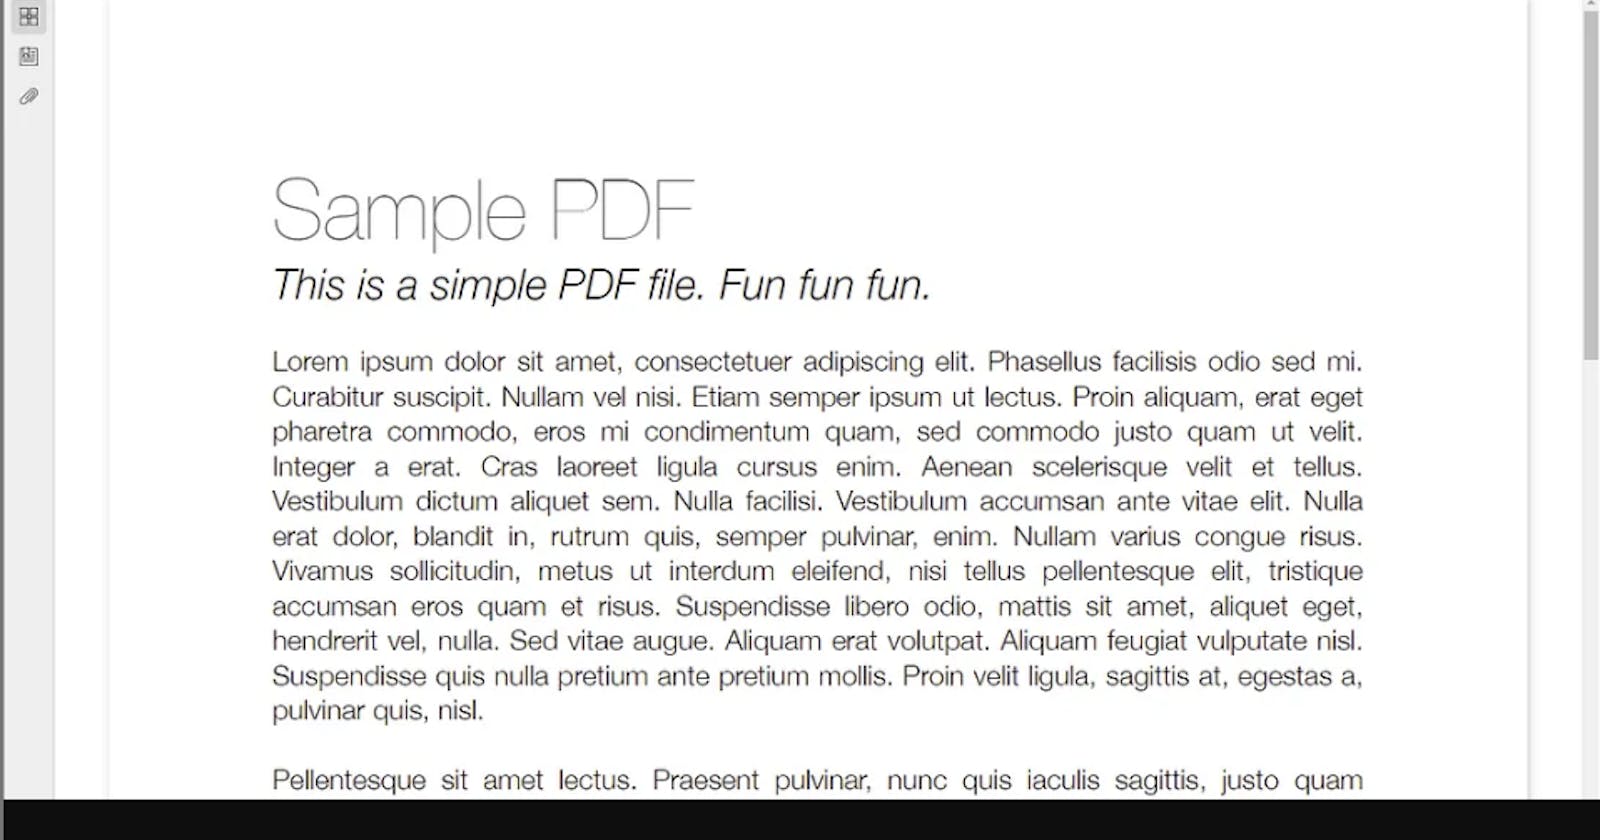
PDFs are a ubiquitous format for sharing documents and information. In web applications, it’s often necessary to integrate a PDF viewer to display these documents. In this tutorial, we’ll walk through the process of creating a simple PDF viewer using React and the @react-pdf-viewer library. We'll also show you how to configure it within a Next.js application.
Prerequisites
Before we begin, make sure you have the following dependencies installed in your project:
@react-pdf-viewer/core:^3.12.0@react-pdf-viewer/default-layout:^3.12.0pdfjs-dist:^3.10.111raw-loader(in devDependencies)
Setting up the Project
Let’s start by setting up our Next.js project with a simple PDF viewer component. Here’s the directory structure we’ll be using:
app/
|-- page.jsx
|-- components/
|   |-- PdfViewer.jsx
|-- next.config.js
Creating the page.js File
Inside the pages directory, create a file called page.js. This will be the page where we'll use our PDF viewer component.
// pages/page.js
import PdfViewer from "@/components/PdfViewer";
const Page = () => {
  return (
    <>
      <PdfViewer url={"https://pdfobject.com/pdf/sample.pdf"} />
    </>
  );
};
export default Page;
In this code, we import and use the PdfViewer component with a sample PDF URL.
Configuring next.config.js
Next, let’s configure next.config.js to handle images and any additional webpack rules. We'll need to specify the domains for images and add a rule to load .node files using raw-loader.
// next.config.js
const nextConfig = {
  images: {
    domains: ["img.freepik.com", "veterinaire-tour-hassan.com"],
  },
  webpack: (config) => {
    config.module.rules.push({
      test: /\.node/,
      use: "raw-loader",
    });
return config;
  },
};
module.exports = nextConfig;
This configuration ensures that Next.js can handle the specified image domains and use raw-loader for .node files.
Creating the PdfViewer.jsx Component
Now, let’s create the PdfViewer component inside the components directory. This component will use the @react-pdf-viewer/core library to render PDFs.
// components/PdfViewer.jsx
"use client";
import { Viewer, Worker } from "@react-pdf-viewer/core";
import "@react-pdf-viewer/core/lib/styles/index.css";
import { defaultLayoutPlugin } from "@react-pdf-viewer/default-layout";
import "@react-pdf-viewer/default-layout/lib/styles/index.css";
const PdfViewer = ({ url }) => {
  const defaultLayoutPluginInstance = defaultLayoutPlugin();
  return (
    <div className="h-screen w-screen">
      <Worker workerUrl="https://unpkg.com/pdfjs-dist@3.10.111/build/pdf.worker.min.js">
        <Viewer
          fileUrl={url}
          plugins={[defaultLayoutPluginInstance]}
        />
      </Worker>
    </div>
  );
};
export default PdfViewer;
In this component:
We import the necessary components and styles from
@react-pdf-viewer/coreand@react-pdf-viewer/default-layout.We create the
PdfViewercomponent, which takes aurlprop for the PDF file's URL.Inside the component, we set up the
WorkerandViewercomponents provided by@react-pdf-viewer/core. TheWorkercomponent loads the PDF.js worker script.We use the
defaultLayoutPluginto apply a default layout to the PDF viewer.Finally, we render the PDF viewer within a
divthat occupies the full screen.
Conclusion
With these files in place and the dependencies correctly installed, you now have a basic PDF viewer set up in your Next.js application. You can customize the viewer further by exploring the options and features provided by @react-pdf-viewer/core and @react-pdf-viewer/default-layout. This tutorial serves as a starting point for integrating PDF viewing capabilities into your web applications.
